
A rare warmer weekend in the upstate of South Carolina combined with a rain-free forecast provided the perfect opportunity to insulate our tiny home this past week. Ok, tiny “home” is a stretch, it is more of a one bedroom cabin. Blue Skies Cabin started as a custom built garden shed with a small 4 foot front porch, four windows and a door. It started as nothing more than an upgrade from our 10×10 tent we put up when we’d go to the upstate and stay at Rally Creek.
After doing the “tent thing” of setup, breakdown, clean, pack, repeat — we decided that since we are going to the same property on our camping/hiking weekends we should look into something more permanent. Ordering a shed as a “more permanent tent was a good start. However, it took one summer with 85-degree days and the sun shining on our walls and roof to realize this was going to need and upgrade. Without having windows open while we are away means arriving to a “tent replacement cabin” that could easily be over 110 degrees when we first opened the doors and windows.
That made the next move a no-brainer. Time to insulate the cabin.
Insulating Blue Skies Cabin
Turns our radiant heat has a huge impact. The heat absorbed by the walls of the cabin and radiated back into the cabin has a huge impact. More, in most cases, than the ambient air temperature. Running our battery-powered fan helps cool things off, but it takes a long time. In addition the humidity in upstate South Carolina can be high in the summer, so sleeping with air conditioning at some point would be a huge bonus. However, a primary goal up at Rally Creek is to be 100% off grid.
In order for our solar and battery banks to keep up with an overnight AC running, even an efficient newer model, means doing as much as we can to make the simple shed-cabin way better at keeping the environment at bay. Stopping the radiant heat is a primary goal.
Insulating The Walls
While doing the roof is the best option for efficiency, that is going to take a lot more planning and effort. It means having 100% of the in-cabin wiring and lighting options in place. It also means and dealing with the passive ridge vent air flow, requiring something more than just sticking insulation in the ceiling panels between the rafters and boarding it up. We will get there.
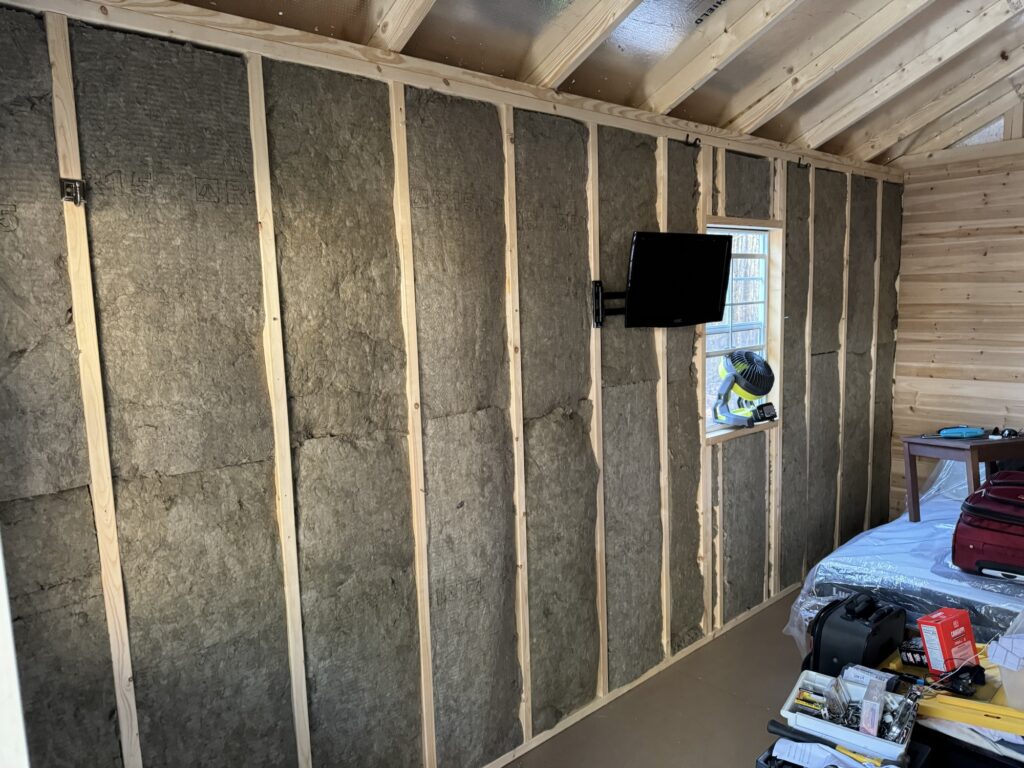
Since we want to encapsulate the entire cabin, that means walls, roof, and floor it wouldn’t hurt to get at least one of those done. I chose to insulate the walls because it was the “low hanging fruit” and I could “button up” two of the walls with finish paneling right away without having to later cut in outlets and other elements.
I chose to insulate with R15 rated mineral wool delivered in pre-cut 16″ (15″ actually) wide battens that are 4 foot long. This makes it super easy to install in US-standard 16-inch on center wall studs. Thankfully Westwood Sheds built the cabin walls to this standard. Sadly, the walls are note 8′ tall standard size — which meant cutting one batten in every wall opening. Way more cutting than I preferred, trimming off 7″ of length on every-other batten. Also, with the windows and doors that mean a number of studs were not 16″ on center around the openings. That meant a lot of cutting of battens. Luckily these battens are easy to cut with a hand saw.
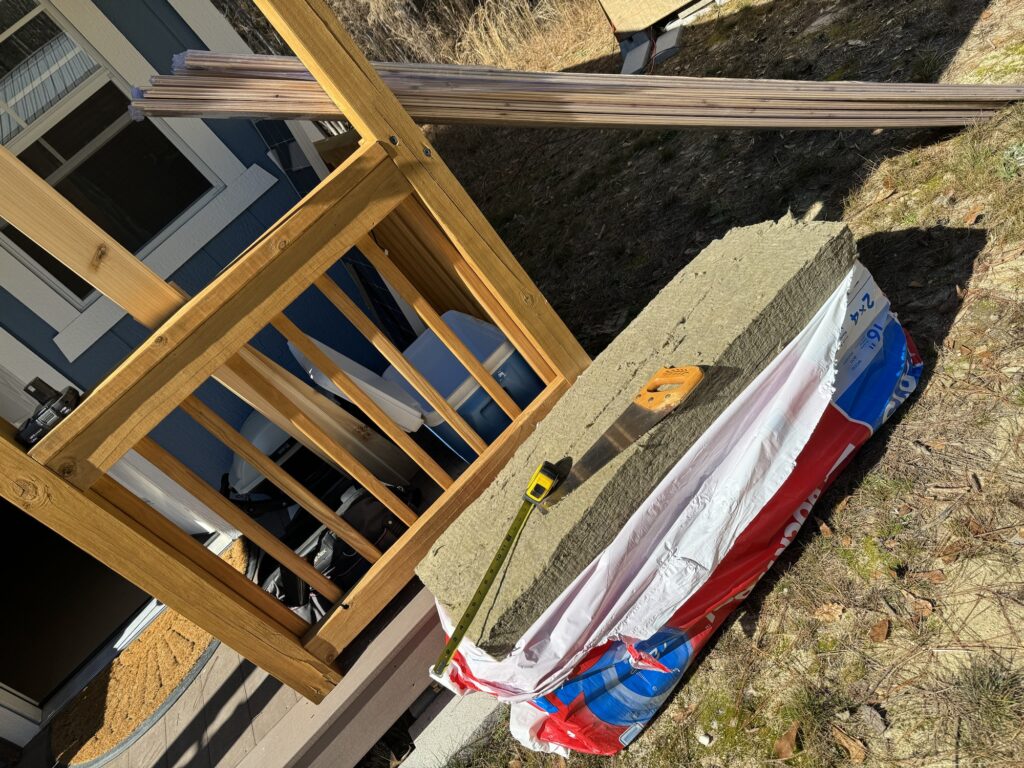
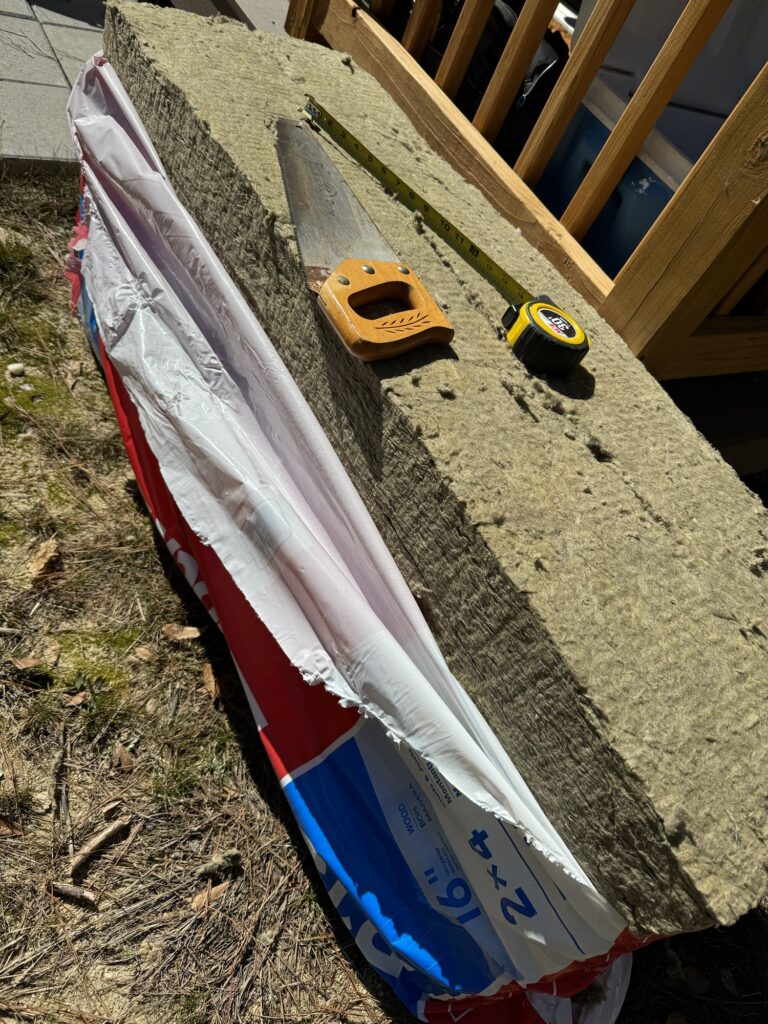
I also like that the mineral wool is made from what is essentially “melted rocks” like basalt or diabase. They heat it up, melt it, and then blow it out into thin strands. Supposedly they came up with the idea from the strands that would appear during volcanic eruptions. I prefer this over standard insulation as it provides superior fire protection and sound insulation — which is a concern at Rally Creek given the “dog kennel situation” nearby.

The Objective – Less Temperature Fluctuation
Overall the project went wall. The main objective was to keep the cabin more stable in temperature over time. Granted, without ceiling (mostly) insulation the cabin did cool down on the first 42-degree night more than I’d like; However it did not quite get down to the outdoor temperature which it always did without insulation. It also cut down notably on the outside noises from the surrounding forest and the barking dogs. Not as much as I’d like , but definitely reduced the sound. Inside the cabin in the morning it was a “brisk” 48-degrees versus 42 outside. Some of the heat captured during the day without the insulation in place before I started was retained even 8 hours later when the sun first started to rise.
The next day, however the impact of the insulation was far more notable. While the slightly cloudy day probably helped some, when the day got up to the mid-60s the cabin stayed near 50 degrees. I had to open the windows to warm up the cabin to match the outdoor temp. Exactly what I was hoping for.
With that in mind, there is enough of an impact here to ensure the forthcoming minisplit wall unit for heating and cooling will need to do far less work. That means more efficiency and thus we can get away with a smaller battery bank and solar array.
Eventually we will insulation the ceiling. That will happen not long after we pull the electrical outlets and wiring, right after the wall panels are fully installed.
Next Up For Blue Skies Cabin
The next trip up to Rally Creek will involve installing several 110V outlets and wiring them to the cabin “shore line” inlet with a distribution box/breaker box. That will be powered by the 2KW inverter running 100% off solar power. Putting in the wiring will mean we can enclose the remaining two walls.
As soon as that is done we will also provide wiring for the 110V minisplit in the back of the cabin.
That will pave the way to design the ceiling , get it insulated while retaining the ridge rent air flow — a unique challenge of converting a shed to an insulated space with heating and cooling.